

Manage access
Create a group
Create a named group under a client and save it in User Management.
This article explains how to create a new group from the User Management section. You must have the appropriate administrative permissions to complete this process.
Note: You must have the appropriate permissions to access User Management. If you do not see this option, contact your platform administrator.
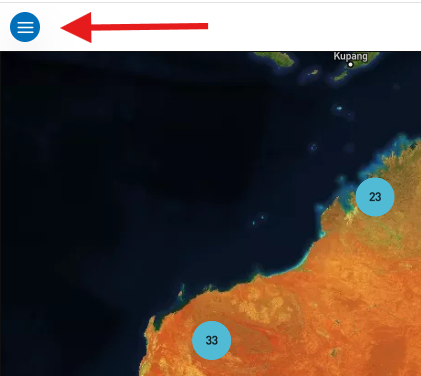
- Select the menu icon (three horizontal lines) in the top left-hand corner of the screen to open the navigation menu.
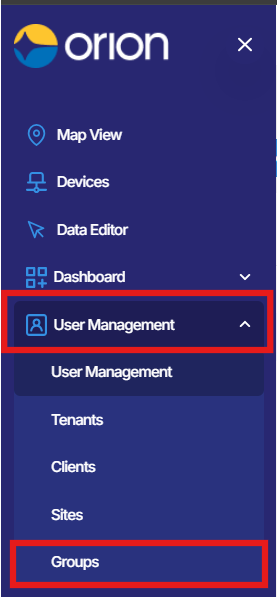
- Click User Management, then select Groups.
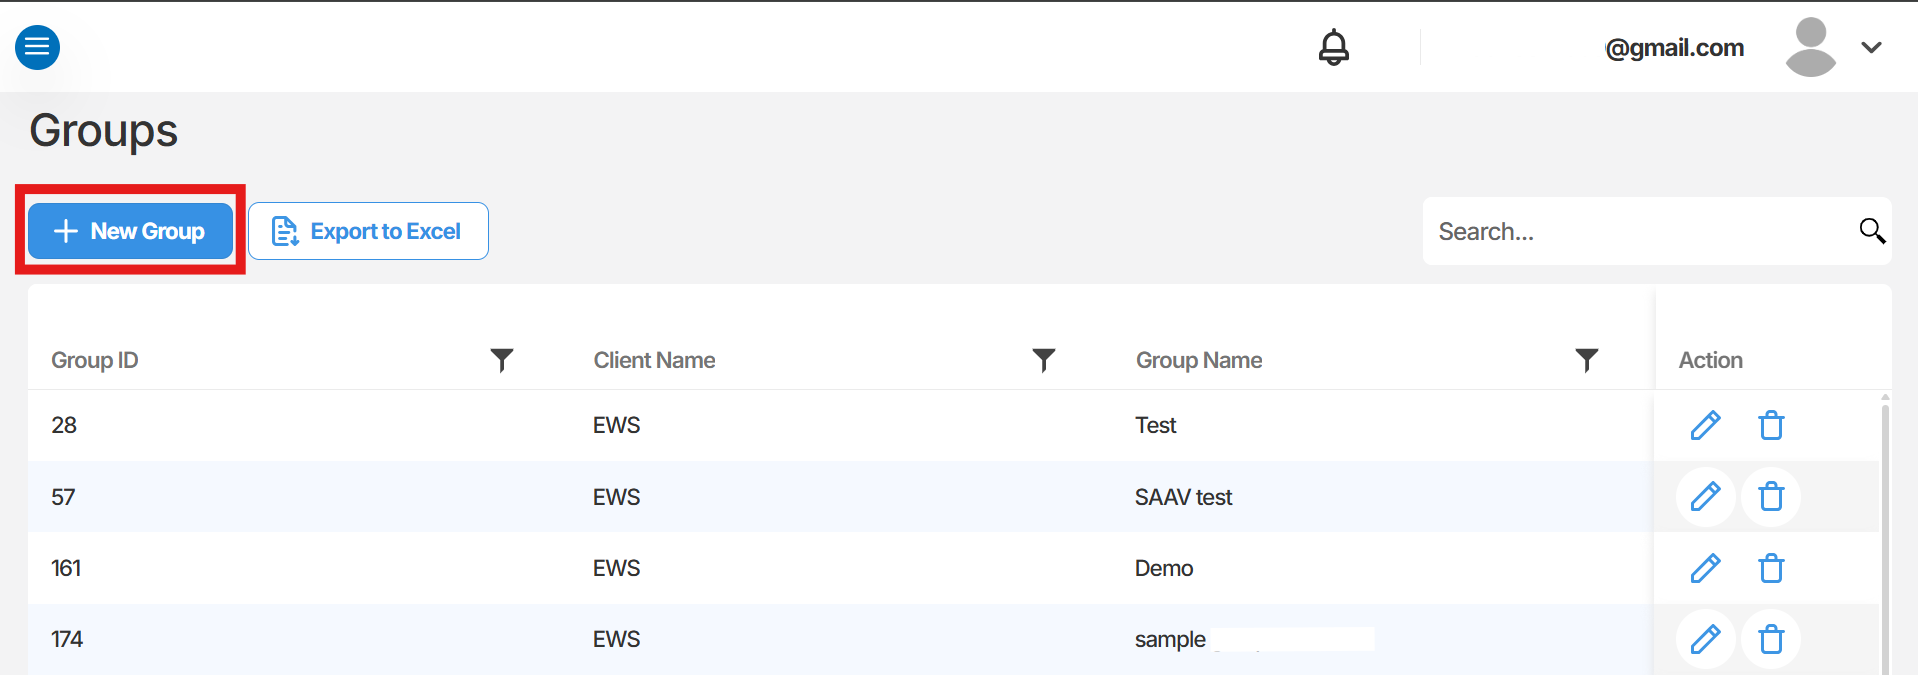
- Once the Groups page loads, click + New Group.
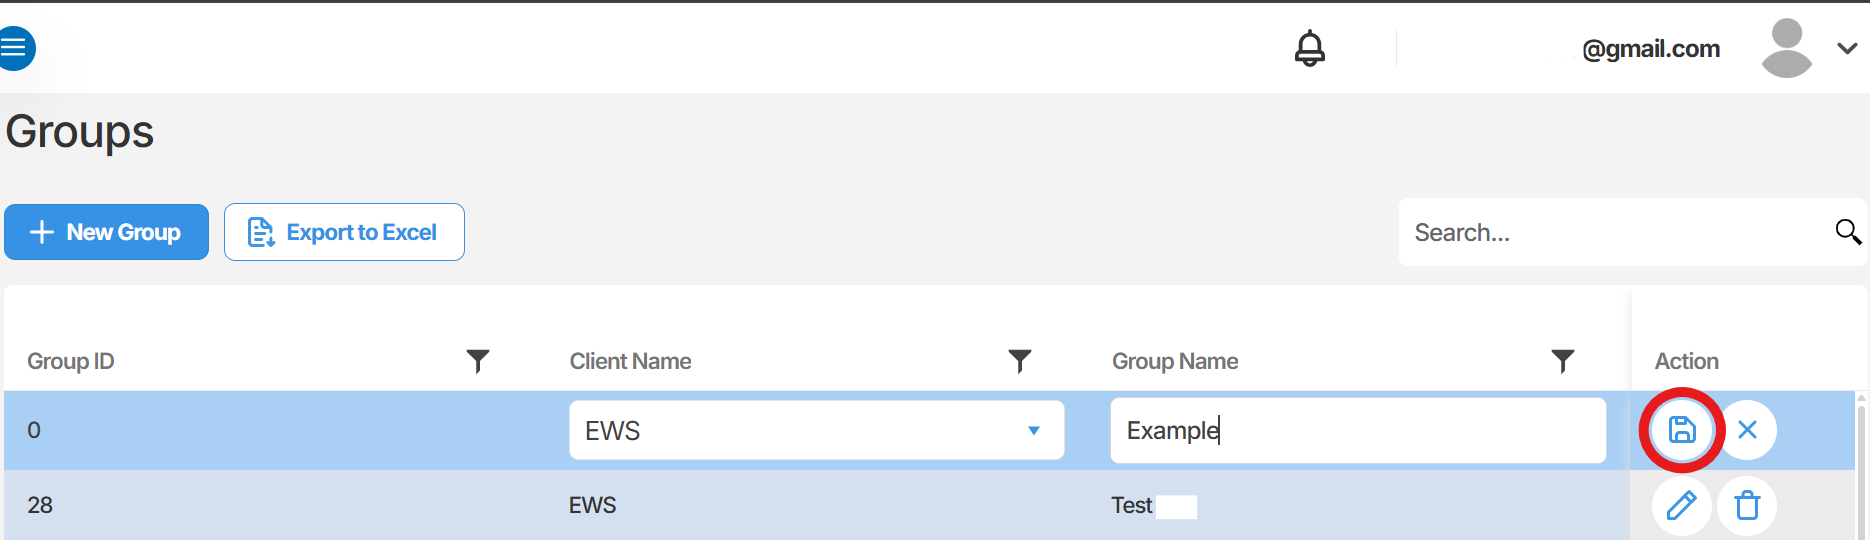
- A new row will appear at the top of the groups list. Fill in the following fields:
-
- Client Name - Select or enter the client this group belongs to using the drop-down box.
- Group Name - Enter a name for the group.
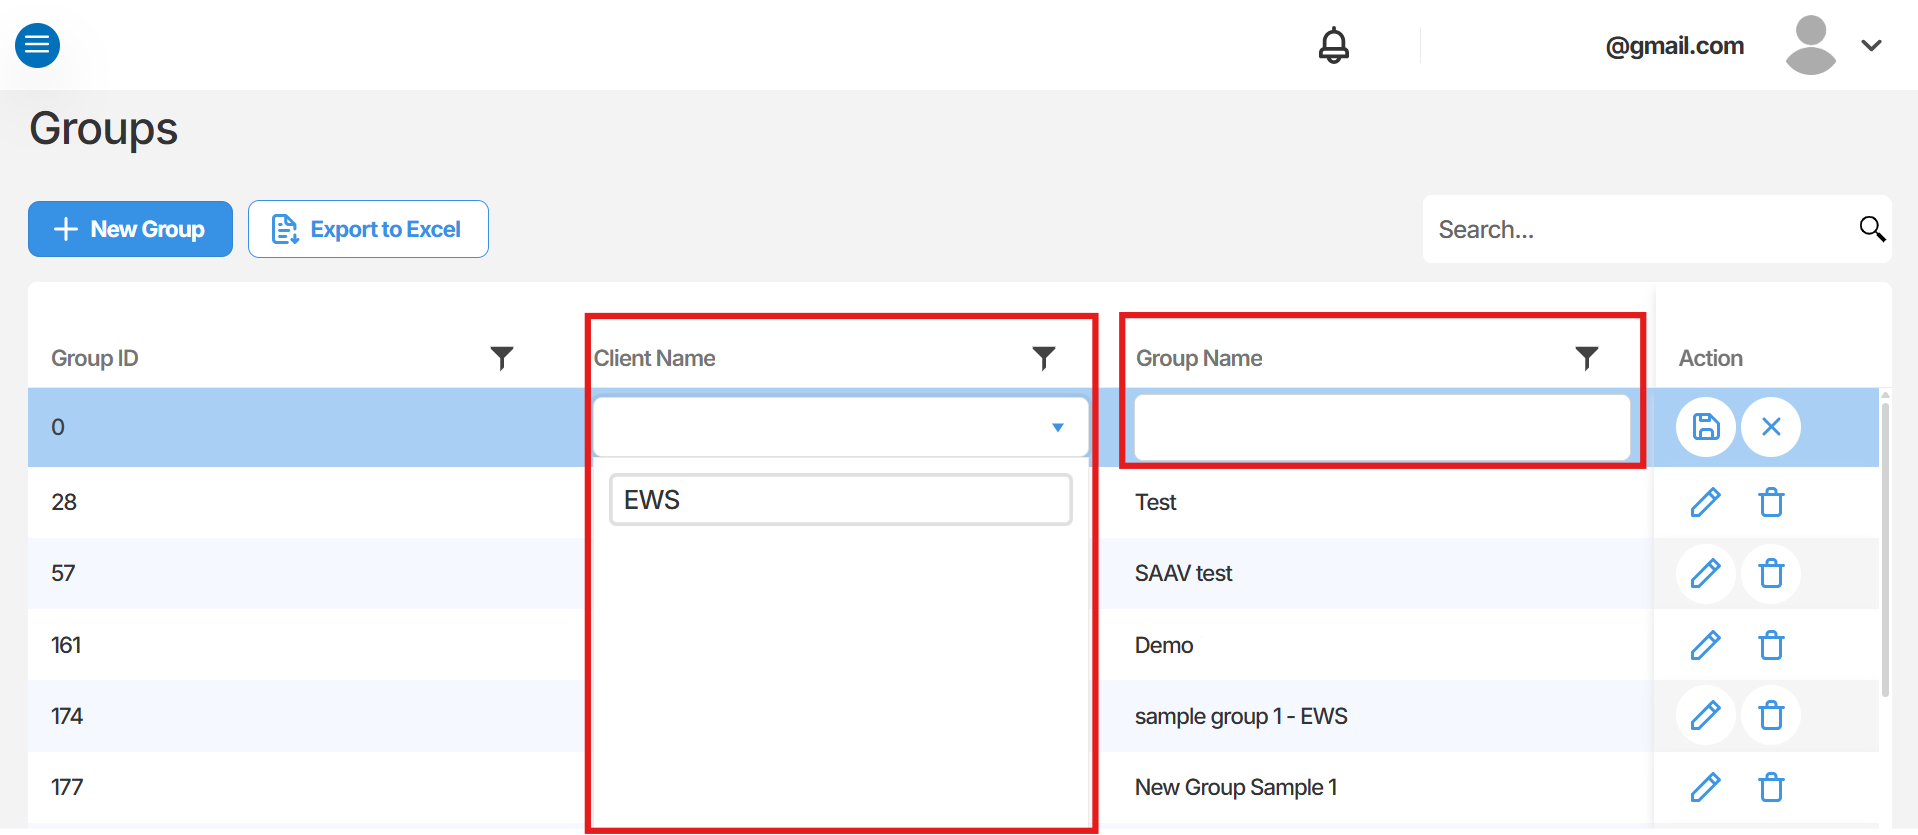
- Click the Save icon to save the new group.
Summary
Section titled “Summary”This article covered how to create a new group in Orion Data using the User Management section. Groups are created by entering a client name and group name, then saving the record. Once created, groups can be used to organise users and manage access across the platform.
Next Steps
Section titled “Next Steps”- Add users to your newly created group
- Review group permissions and access settings
- Explore how groups interact with device visibility and alarms
Related articles
Section titled “Related articles”- Getting started with User Management in Orion Data
- Inviting users to Orion Data
- Managing user roles and permissions